


Yesterday I posted "Part 1" of a detailed tutorial my good friend (and cookie decorator extraordinaire!) Callye of Sweet Sugar Belle put together exclusively for Glorious Treats readers. Today I'm back with all the photo how-to's for the decorating stage.
You'll need to prepare a batch of Royal Icing.
Royal Icing
4 Tablespoons Meringue Powder (I use Wilton Brand)
4 cups (about 1 pound) powdered sugar
6 Tablespoons warm water
Beat all ingredients until stiff peaks form.
*Make sure all bowls and utensils are totally grease-free or your icing will never reach proper consistency.
Spoon some of the thick white icing into individual bowls and add coloring (Callye and I use
For each color of icing, you will want a piping bag (or squeeze bottle) of thick icing and one in the same color of thinned icing. Once you color a bowl of icing, scoop about 1/2 of it into a piping bag (fitted with a size 2 tip- or other desired size), and then thin the remaining icing in that bowl to create a thinned version of the exact same color. To thin icing add 1 teaspoon of water at a time and stir, continue adding water by 1/2 teaspoons until desired consistency is reached.
I will use the terms "thick icing", this is the consistency before adding extra water, and should be about the consistency of toothpaste. When I say "thinned icing", it should be icing that has been thinned to about the consistency of thick syrup (like corn syrup).
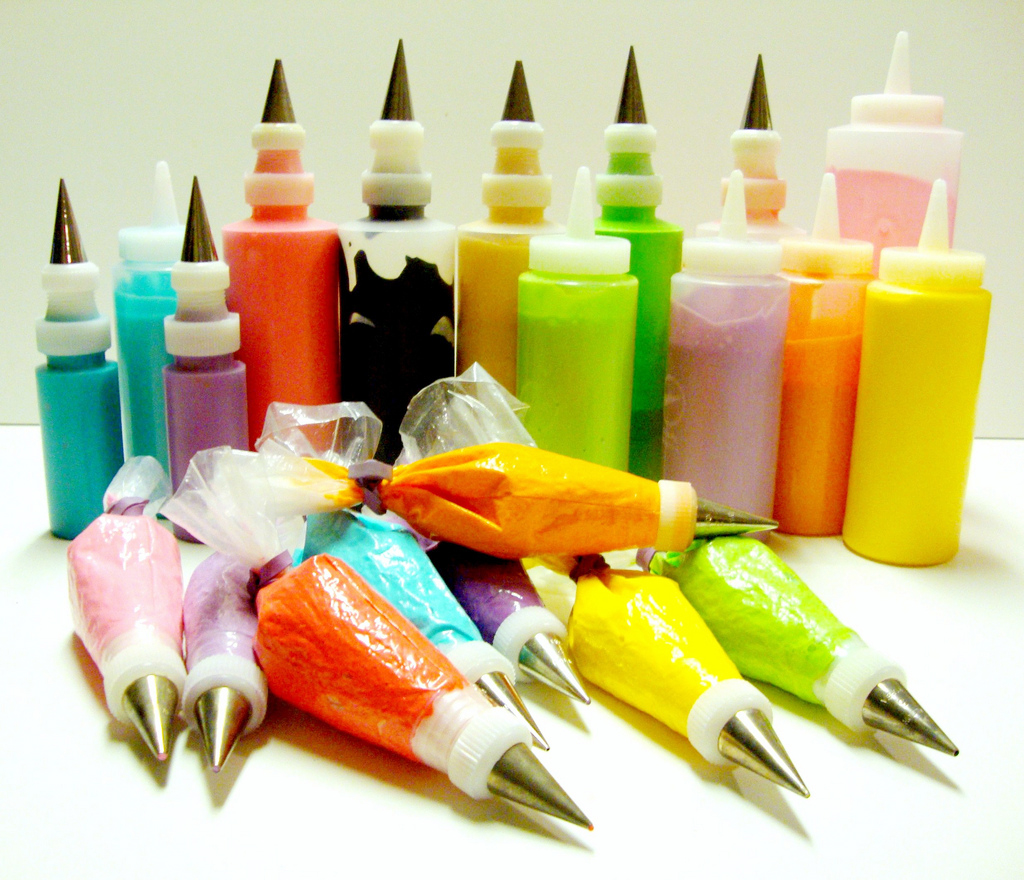
Once you have your icing colored, and in piping bags (and/or squeeze bottles) you're ready to get started.
Below is a photo I posted in a previous post, but I thought would be a nice reminder. The more organized your work space is the more efficient you will be.

Candy Corn Cookies

~Candy Corn Cookies Directions~
Step 1. Pipe thick black icing around the edge of the cookie. Let that outline dry for at least 1/2 hour before continuing. (You can work on other cookies and then come back).
Steps 2.-5. Fill in with thinned icing in white, then yellow, then orange.
Step 6. When icing is completely dry (after several hours) use a black edible marker to add eyes and mouth.
Candy

~Candy Directions~
Steps 1.-2. Use thick black icing to outline the cookie.
Step 3. Fill in (as shown) with thinned black icing.
Step 4. Fill in the appropriate areas with thinned orange icing.
Step 5. Fill in with thinned white.
Step 6. Once the cookie is dry (after at least 1 hour), add a small accent of white (as shown).
Heart Pumpkin

~Heart Pumpkin Directions~
Steps 1.-3. Use thick black icing to outline the heart shape and outline parts of the face.
Step 4. Fill in the face parts with thinned black icing. Then create a stem with thinned green icing.
Step 5. Fill in the pumpkin with thinned orange.
Step 6. Use a toothpick as necessary to move the icing where it needs to be.
Optional final step (not shown above, but shown on finished cookies at the top of the post), accent the green stem (when totally dry) with a green edible marker.
Peace Bat

~Peace Bat Directions~
Steps 1.-3. Create the peace sign shaped using thinned black icing.
Step 4.-6. Lay the cookie on a paper plate or tray, and sprinkle with black sanding sugar. Allow to "rest" for a few minutes.
Steps 7.-8. Gently turn cookie upside down and shake off excess sugar (do not worry about the excess sugar in the center of the design for now). As needed, use a clean, dry paintbrush to brush off excess sugar.
Steps 9.-10. Outline the bat wings with thick black icing, then fill in with thinned black icing.
Step 11. Once the cookie is dry (after several hours), brush off any excess sugar from the center of the peace sign.
Step 12. Add eyes, using white icing first, and then a black dot.
Finally...
With some luck, and several hours of work (or fun, depending on how you look at it!) you may have something that resembles these...

It would be near impossible to include every detail of how to decorate cookies in one post. The way Callye and I have developed most of our skills is through trial and error, and lots and LOTS of practice! We are both still learning new tricks all the time. Before you e-mail me with questions, please make sure you have read through the several posts I have on this blog on the topic of cookie decorating (see categories at the top of the right side bar). There are also many resources available by simply doing internet searches on the topic you are interested in, as well as lots of great YouTube videos that show various tips and tricks. Decorating cookies can be a very rewarding hobby, but it would be unrealistic to think you will be able to sit down and make 300 beautiful wedding favor cookies on your first try. Maybe that could be a project for your second try! =)
Happy Decorating!
Please note as well... Callye has been very generous to us with her time and knowledge, but her time is not unlimited. Please feel free to contact her to say "hi" and "thanks", but she is quite busy raising three young children and can not answer your cookie questions, or make cookies for you at this time.
All of the important links...
Part 1 of this tutorial- The design inspiration, cookie recipe, and cutting the dough.
Callye's Facebook page, SugarBelle's
Blog, Sweet Sugar Belle
Flickr page, Sweet Sugar Belle
Thanks again Callye!!


